NOT AN LONGER... This does NOT have to be a source of your civil 3d pain any longer.
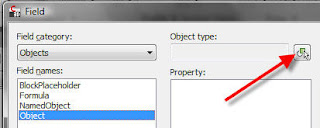
We will now show you "Fields"... By typing in the word "field" (without the quotes of course) at the command line, you will be taken to the Field dialog box. In the upper left dropdown, select "Objects", notice that the list below changes.
Next click on the field name "Object" in the column on the left. (The next two columns will now be blank.)
Now select the icon as shown below, which will allow you to select the desired object.

Select the centerline of the assembly, and the properties column will be populated.
Select the "Name" property from the list. You should see the assembly name in the upper right corner of the dialog box.
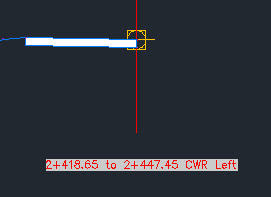
Click OK, and place the field (text) into the drawing where you wish. You should have an assembly with a field text box similar to that shown below.

Now go to the properties of the assembly, change the name, and regen your drawing. The text field you placed a moment ago should change to reflect the renamed assembly.
Remember:
We save you 5 minutes per hour..... then we just saved you 1 month per year. Think about it.
http://www.youngsvos.com/ for all of your Civil 3D training, online, onsite, custom, and On-Demand training available to fit your training needs.
No comments:
Post a Comment